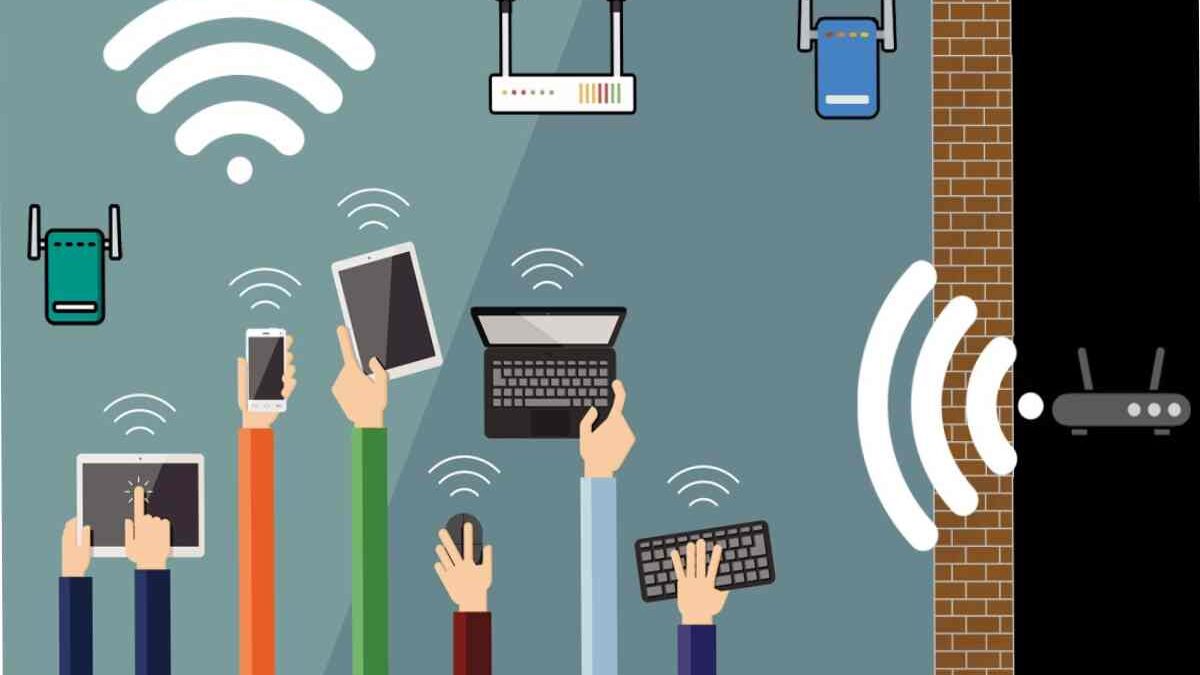
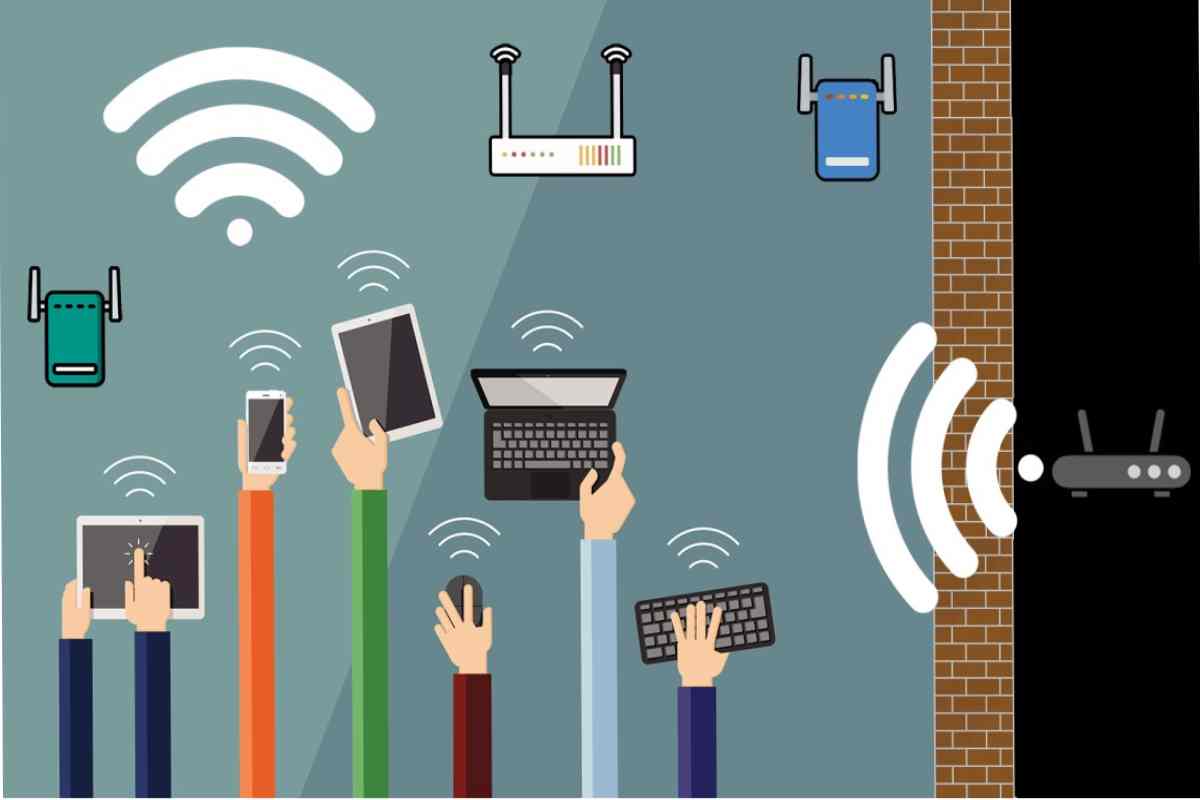
Reliable Wi‑Fi is no longer a luxury—it’s the backbone of modern devices, smart gadgets, and digital business operations. From streaming and gaming to cloud tools, video meetings, and IoT systems, weak Wi‑Fi coverage can quietly undermine performance, productivity, and user experience.
This guide reframes Wi‑Fi coverage improvement through the Tech / Gadgets and Technology‑for‑Business lens, showing how the right devices, configurations, and connectivity strategies can support both everyday users and growing organizations.
Table of Contents
Why Wi‑Fi Coverage Matters in a Connected World
Today’s homes and workplaces are packed with bandwidth‑hungry devices: smartphones, laptops, smart TVs, security cameras, POS systems, and IoT sensors. Poor coverage leads to dropped connections, slow speeds, and frustrated users—issues that directly impact:
- Smart home automation and gadgets
- Remote work and hybrid teams
- Cloud applications and SaaS tools
- Customer‑facing digital experiences
For businesses, unreliable Wi‑Fi isn’t just inconvenient—it can affect operations, customer trust, and revenue.
Core Devices That Enhance Wi‑Fi Coverage
1. Wi‑Fi Routers (The Foundation)
Modern dual‑band and tri‑band routers are designed to handle multiple devices simultaneously. Features like beamforming, MU‑MIMO, and Wi‑Fi 6/6E improve speed, coverage, and device prioritization.
Best for: Homes with many gadgets, small offices, and startups.
2. Wi‑Fi Extenders and Repeaters
Extenders rebroadcast your existing Wi‑Fi signal to reach dead zones. They’re affordable and easy to deploy but may reduce overall speed.
Best for: Apartments, older buildings, and small spaces with coverage gaps.
3. Mesh Wi‑Fi Systems
Mesh systems use multiple nodes working together to create seamless coverage across large areas. Unlike extenders, mesh networks maintain consistent speeds and roaming.
Best for: Smart homes, coworking spaces, retail stores, and multi‑floor offices.
4. Access Points (Business‑Grade Connectivity)
Dedicated wireless access points connect via Ethernet and deliver strong, stable Wi‑Fi to specific zones. They’re commonly used in offices, hotels, schools, and warehouses.
Best for: Medium to large businesses needing scalable, secure networks.
Why Strong Wi-Fi Coverage Is Critical Today
Cover:
-
Remote work & hybrid offices
-
Smart gadgets & IoT devices
-
Video conferencing & cloud apps
-
Productivity losses from poor connectivity
Quick Wins That Don’t Cost a Dime
Before you spend hundreds on fancy gadgets, try these simple tweaks:
Move the Router
I can’t stress this enough. Even moving it a couple of feet can improve coverage dramatically. Aim for a central location, away from walls and electronics. Elevate it if you can—high shelves are better than floor placement.
Update Firmware & Check Channels
Routers have software too. Updating firmware can fix bugs, improve speed, and even boost coverage. Also, check the Wi-Fi channel. In apartments or dense neighborhoods, channels get crowded. Switching to a less congested one can reduce interference significantly.
Minimize Interference
Keep your router away from microwaves, cordless phones, baby monitors, and other electronics. These little things can silently sabotage your Wi-Fi.
Map Your Signal
Walk around with your phone or laptop and see where the signal drops. There are apps that do this visually, so you can spot dead zones quickly.
Gadgets and Smart Devices That Depend on Strong Wi‑Fi
A weak network can bottleneck even the most advanced gadgets. Optimized Wi‑Fi coverage ensures smoother performance for:
- Smart TVs, speakers, and streaming devices
- Video doorbells and security cameras
- Voice assistants and home automation hubs
- Laptops, tablets, and gaming consoles
In business environments, reliable Wi‑Fi supports POS systems, digital signage, CRM access, and real‑time analytics dashboards.
Future-Proof Your Wi-Fi
Tech keeps evolving. Wi-Fi 6 and Wi-Fi 6E are already here. When upgrading, think long-term:
-
Get routers that support Wi-Fi 6/6E
-
Look for mesh systems that are expandable
-
Make sure your devices can take advantage of multiple bands
Spending a little extra now saves headaches and repeated upgrades later.
Common Mistakes People Make
-
Thinking a new router fixes everything. (Placement matters more than most people think.)
-
Overloading a network with too many devices.
-
Ignoring firmware updates.
-
Skipping security—freeloaders slow down your Wi-Fi and can be a risk.
Avoid these, and your Wi-Fi woes will shrink faster than you thought possible.
Technology‑for‑Business: Wi‑Fi as Infrastructure
From a business perspective, Wi‑Fi is no longer “just IT.” It’s a strategic technology layer that supports:
- Cloud computing and SaaS platforms
- AI‑driven tools and automation
- Data analytics and KPI dashboards
- Remote collaboration and BYOD policies
Investing in enterprise‑grade routers, mesh systems, or managed Wi‑Fi services reduces downtime, improves security, and enables future tech adoption.
Practical Tips to Improve Wi‑Fi Coverage
- Place routers centrally and away from walls or metal objects
- Upgrade outdated hardware to Wi‑Fi 6/6E
- Use mesh systems instead of multiple cheap extenders
- Separate guest and business networks for security
- Regularly update firmware for performance and safety
Bottom Line
Wi-Fi doesn’t have to be a nightmare. Dead zones, buffering, slow speeds—they’re all fixable. Often, the solution isn’t buying the fanciest router—it’s smart placement, firmware updates, and small hardware upgrades where needed.
Enhancing Wi‑Fi coverage is no longer just a networking task—it’s a devices, gadgets, and business technology decision. Whether you’re optimizing a smart home or building a scalable digital workplace, the right Wi‑Fi setup directly impacts performance, productivity, and future readiness.
By aligning Wi‑Fi improvements with Tech / Gadgets and Technology‑for‑Business strategies, you create a foundation that supports innovation, connectivity, and growth.